Triumph Racing History Video
Reply
I like originality…..which is a shame because when you have a 54 year old car people are going to have changed things on the basis of cost, or availability with scant regard to correctness. This means that lots of things are coming out of the woodwork that are incorrect and my OCD is kicking in.
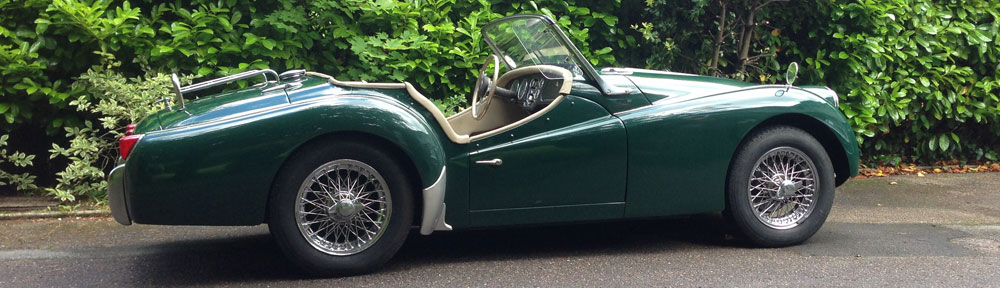
One of those is the hood fitment. My car has been fitted with “Lift the Dot” pegs along the top edge of the windscreen where the hood is fitted. Indeed, Moto Build have supplied LTD fittings for the new hood. However, TR3a’s were fitted with Tenax type fasteners which are difficult to find now (and of course, the thread needs to match the thread for the LTD pegs now fitted). You can see the pegs in the photo below.

Having had a phone call with Southern Triumph regarding another TR3a he has in for work, the question of the lettering on the front apron arose. Asked if I knew if I had the correct lettering I had to admit that I had no clue so I went off to investigate.
As it turns out, the lettering on the front of my car is only used on very late TR3’s (apparently they are the same as a Triumph Herald) from chassis EB72384. My lettering is flat (see image below)

The actual lettering should be the older ribbed and dished lettering as shown in this photo

Things didn’t go so well at Phoenix Classic Cars. Without going into too many details, I was frustrated with the lack of progress on the car, and the shock of a 20 hour labour bill to change the rear leaf springs, 12 of which were for removing a single pin. Eventually, we agreed on 12 hours total and I removed the car from their workshop without the new hood having been removed from the package it was delivered in.
So the car is now in Southern Triumph and Mark and I have now drawn up a comprehensive list of jobs to do in some sort of priority.
Apart from the parts being shinier, replacing the front coil springs and rear leaf springs has done little to level the car out. It’s made about a 5mm improvement. Having looked at the car on the ramp in more detail (which is what should have happened in the first place) it looks like the body has been badly shimmed onto the chassis with a 25mm gap between the body and the chassis running the entire length of the car. Re-shimming the chassis correctly is priority number one.
While we were there we took off some of the trim to check if the appropriate holes for the hood fixings were present and it looks like everything is there which should make trimming the hood much easier. Phoenix have powdercoated the hood frame in tan/beige to match the interior rather than the British Racing Green as it should be which is frustrating, but at this stage it doesn’t seem worth painting again. If it really annoys me later, I’ll paint it then – it’s only held in with four screws.
The windscreen has to come out to screw the pegs on for the tonneau so the rear view mirror will be replaced at this point, as will the rotten rubber sealing strip between the frame and scuttle panel.
Apart from the trimming and shimming, there are a number of jobs that we’ve agreed are a priority to make the car reliable. Continue reading
